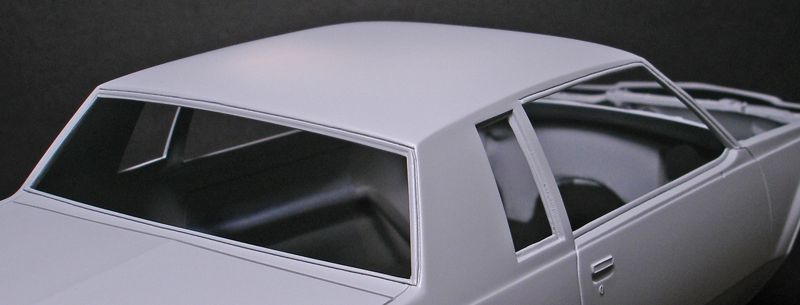
Cant take credit for coming up with this method as I learnt it from a couple guys out there in the model car world on the interwebz, Marcos Cruz and Cesar Bossolani.
What I use to get the job done.
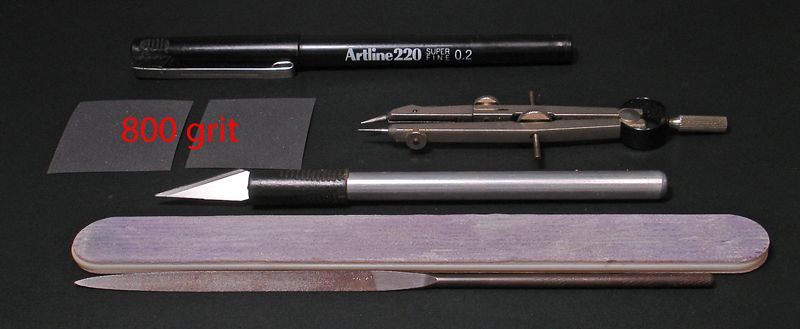
Will start by showing door and boot lines.
First up, break the tip off an old blade.
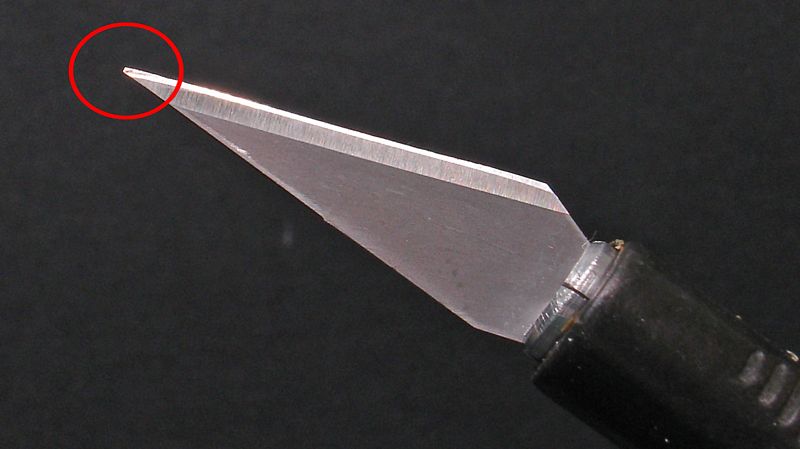
Break it so the blade tip thickness matches the width of door and boot lines. Then lightly drag the blade along the lines for the first couple passes, after that start applying a bit more pressure. Dont get carried away or you will cut through. Doesnt take many passes to add a bit of depth to the lines.
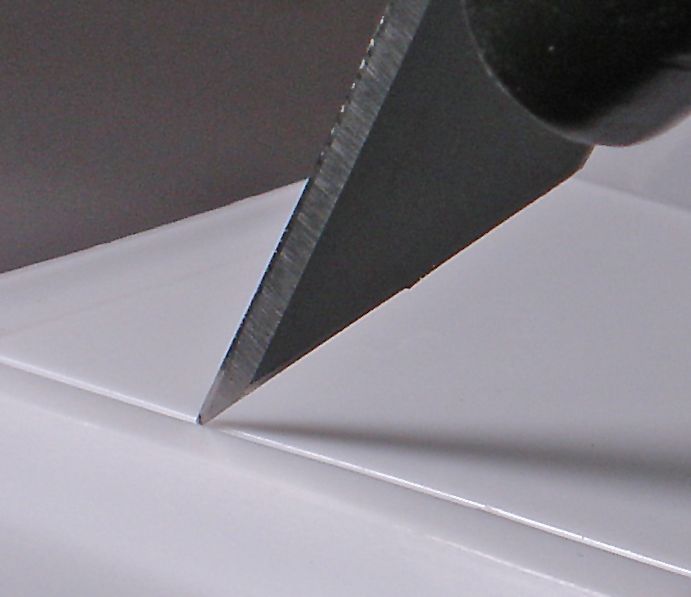
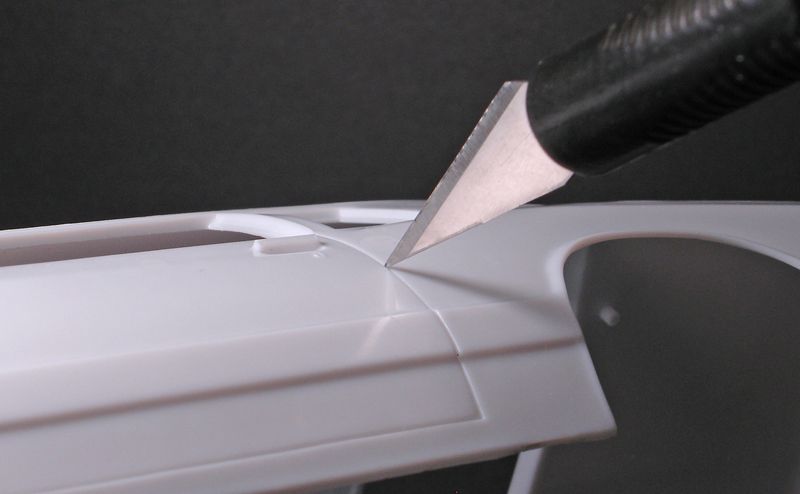
Once you are happy with the depth, using one of the pieces of 800 grit do the following.
Fold edge.

Apply a small amount of super glue along the crease on the ends.
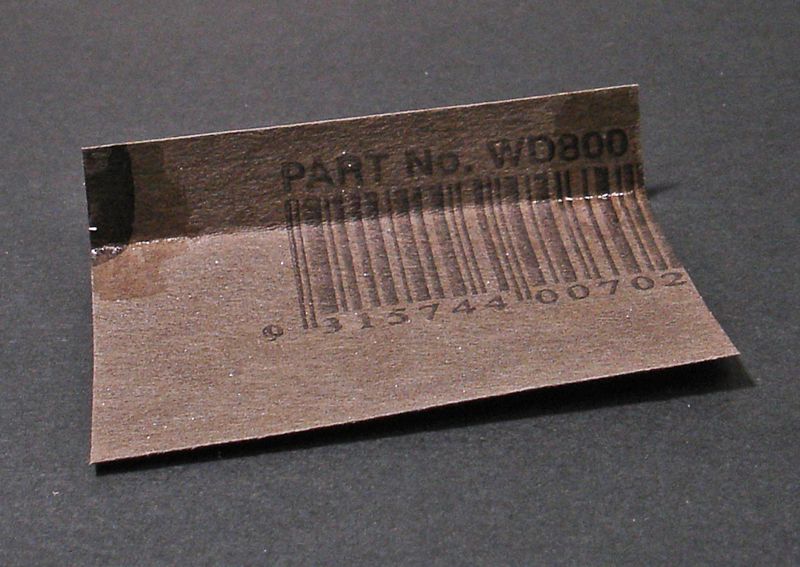
Press down the fold so you end up with something like this.
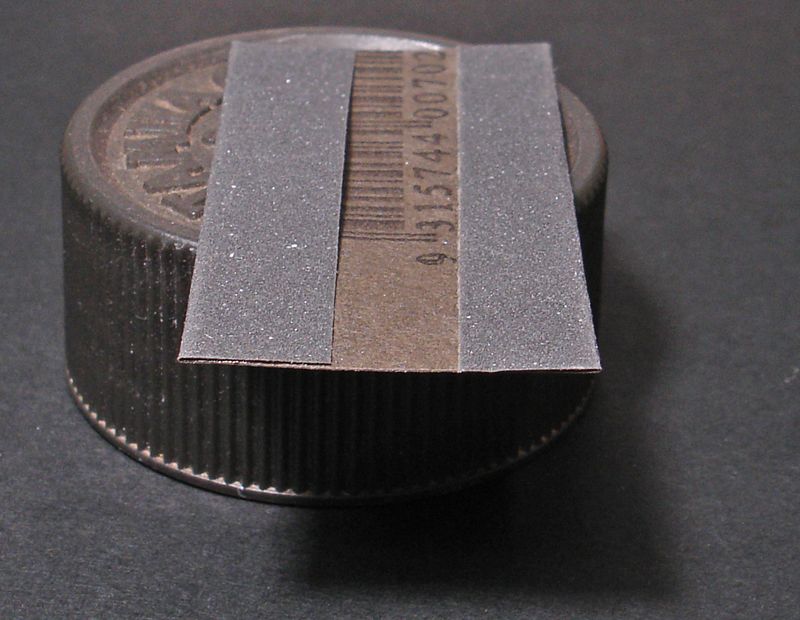
Drag the sand paper through the lines.
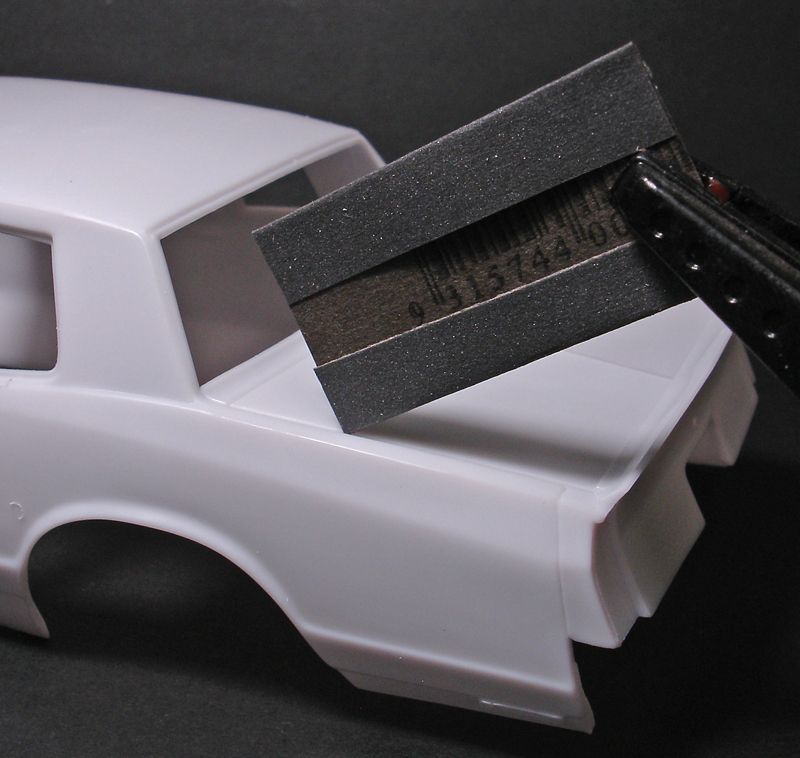
Using the second piece of sand paper do a double fold.
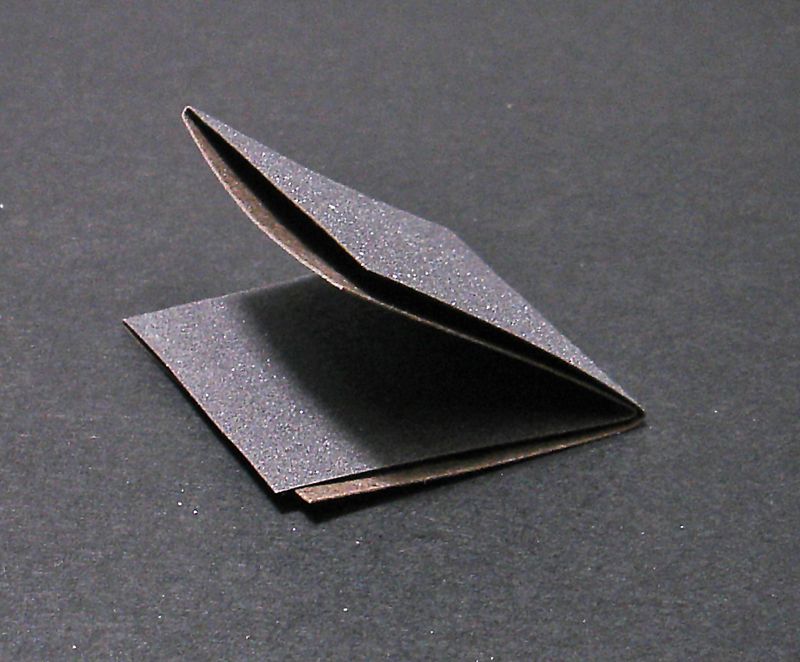
Position the paper like below and again drag through the lines, this is done to remove the sharp edge/burr as sometimes paint will pull away from sharp edges.
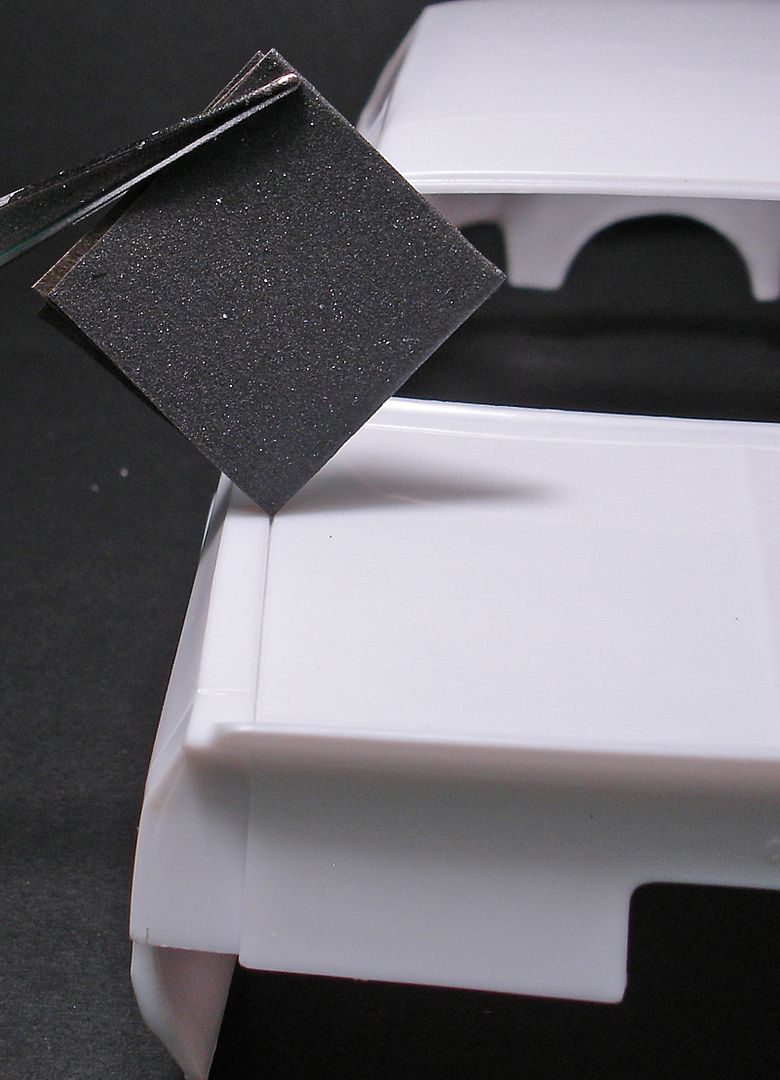
Thats pretty much it for door and boot lines, somewhat simple. Take your time and dont rush it, doesnt take much to slip with the blade and then you got a gouge to fix.
Now for the window trim, as some of you would be aware some kits have really soft detail around the window trim or the trim detail doesnt exist which can be a pita to do BMF work. Even if the trim is crisp using this technique can assist when trimming BMF.
This is tedious and it pays to really take your time and try be precise as possible.
Only showing the back window trim but its pretty much same process for the front and side.
How it looked before anything was done.
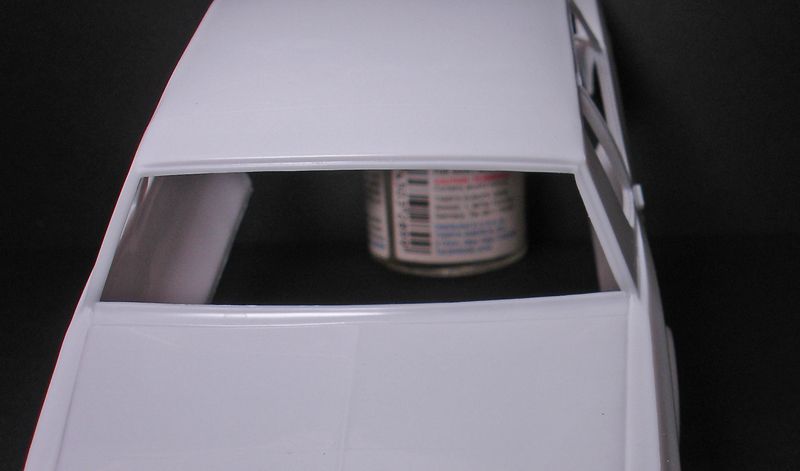
Start by cleaning up all the inner edges and get the trim to look all the same width. Sanding stick and a file do the job for this.
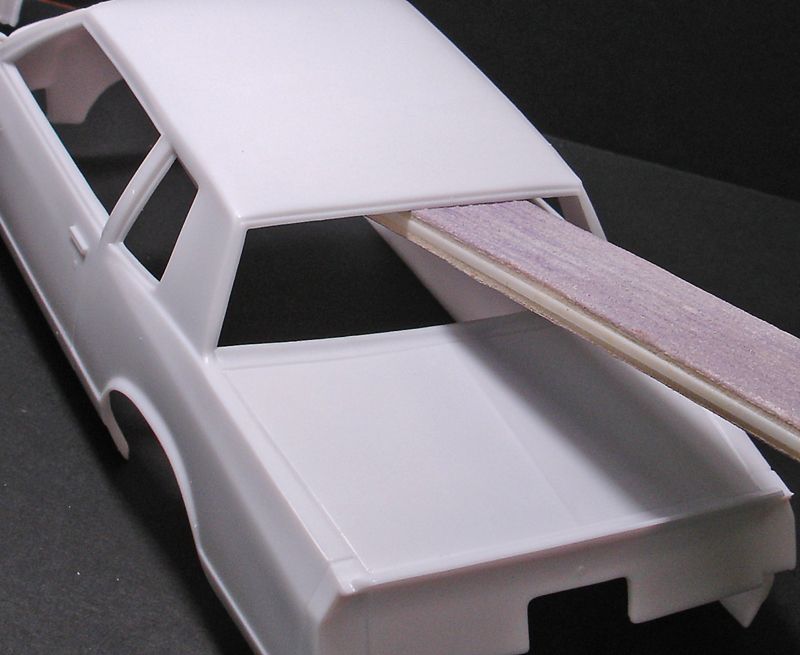
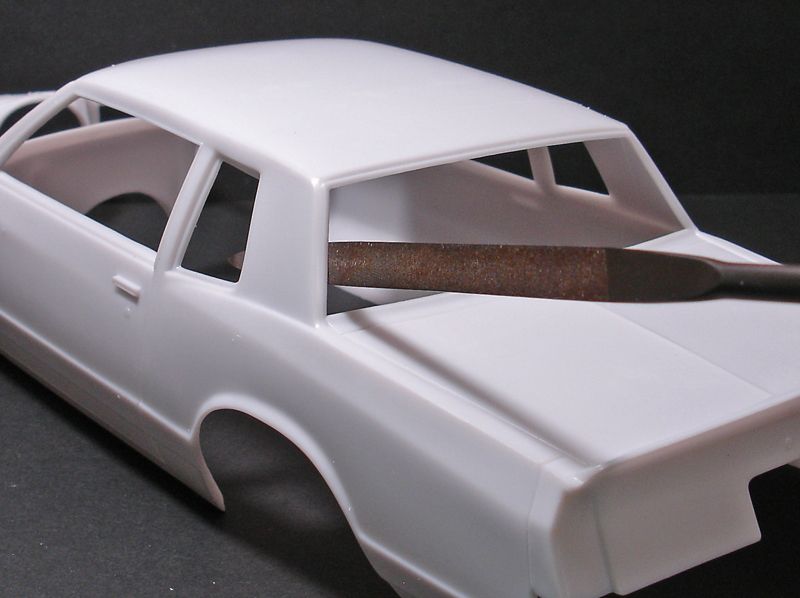
When the trim detail is crisp, I mark around it.
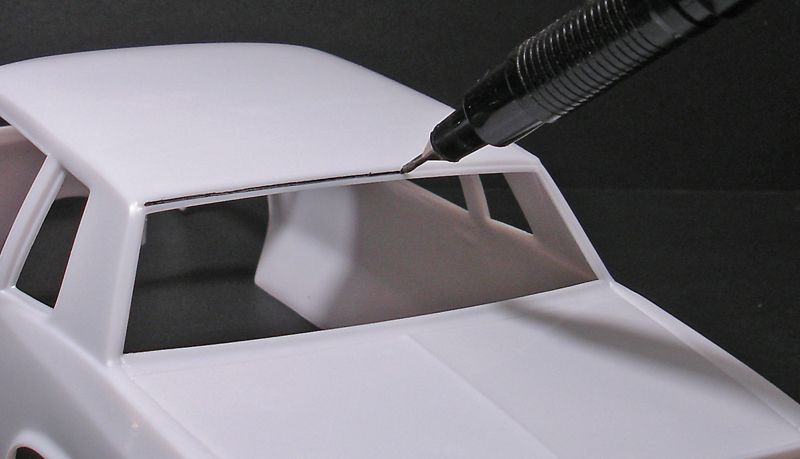
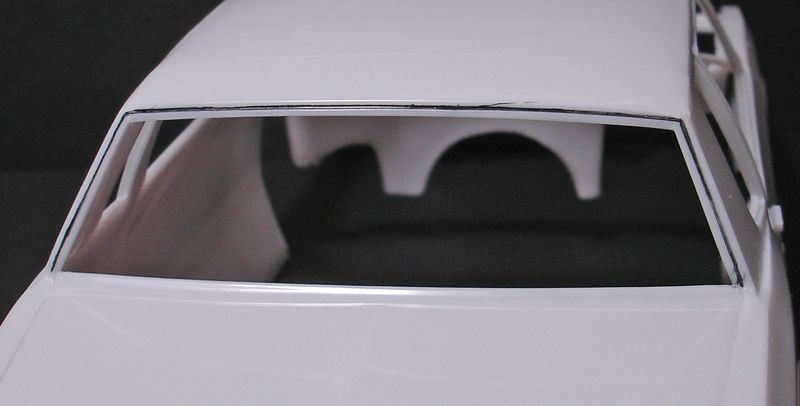
Set up the tips of drawing compass like below.
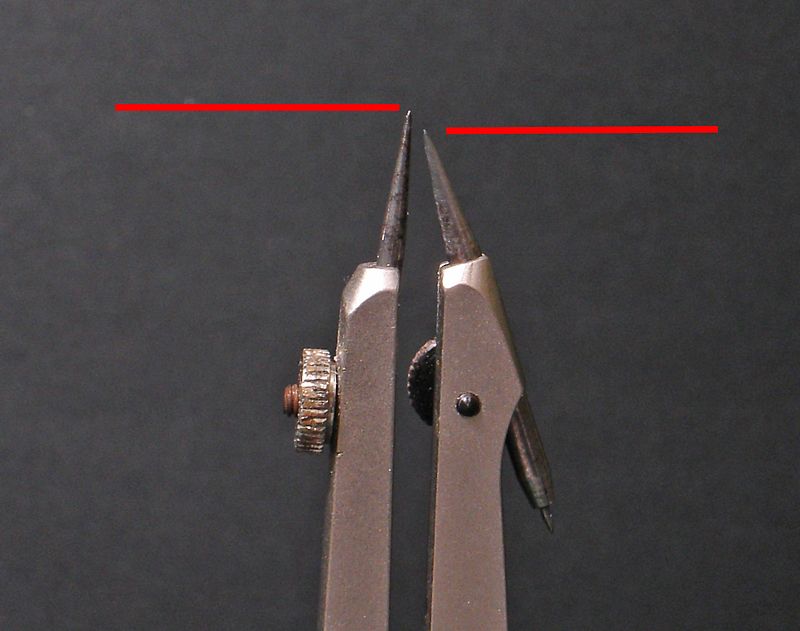
Set the distance between the points to match the trim width. If trim detail doesnt exist set to what you think is the right width. Using the inner edge as a guide try keep a slight bit of pressure on this edge and like done with door and boot lines for first couple passes very lightly drag/scribe around the window trim. Take your time.
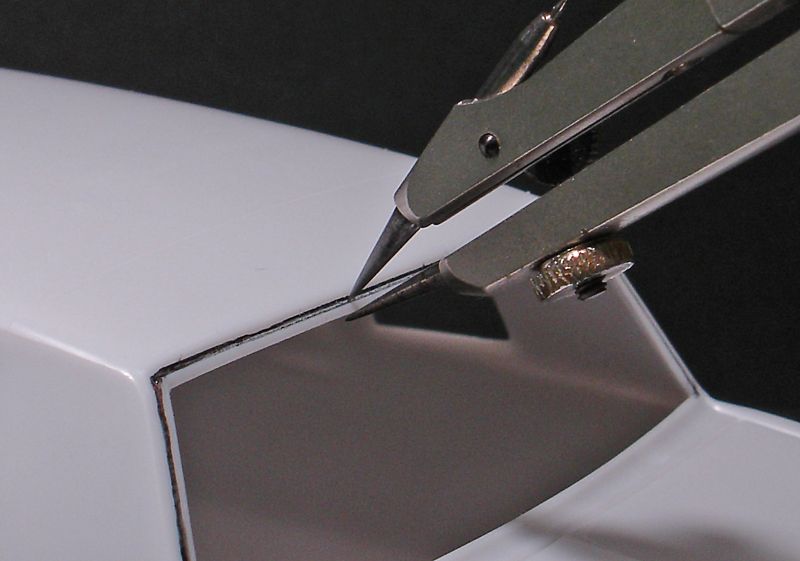
Kinda hard to see. No need to go very deep, just try to get a nice clean line.
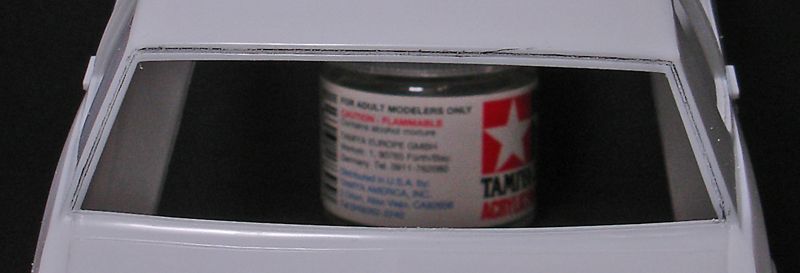
Using the blade used on door and boot lines, scribe a very small amount of depth and also use it to scribe around the corners.
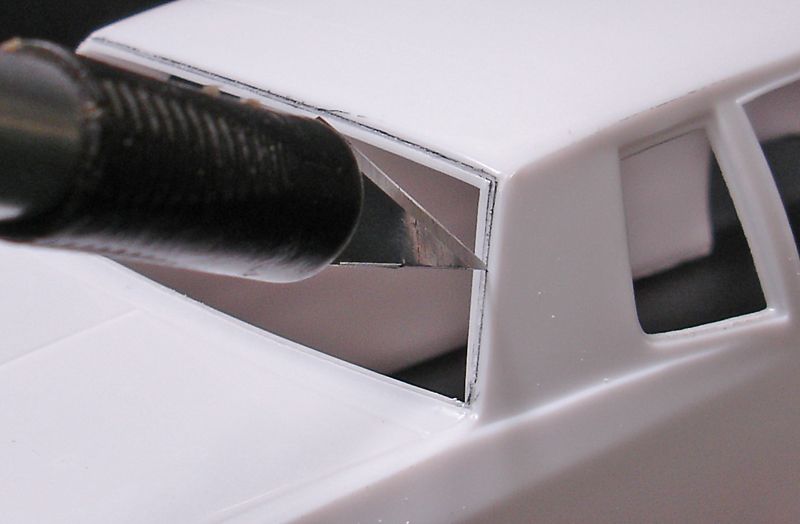
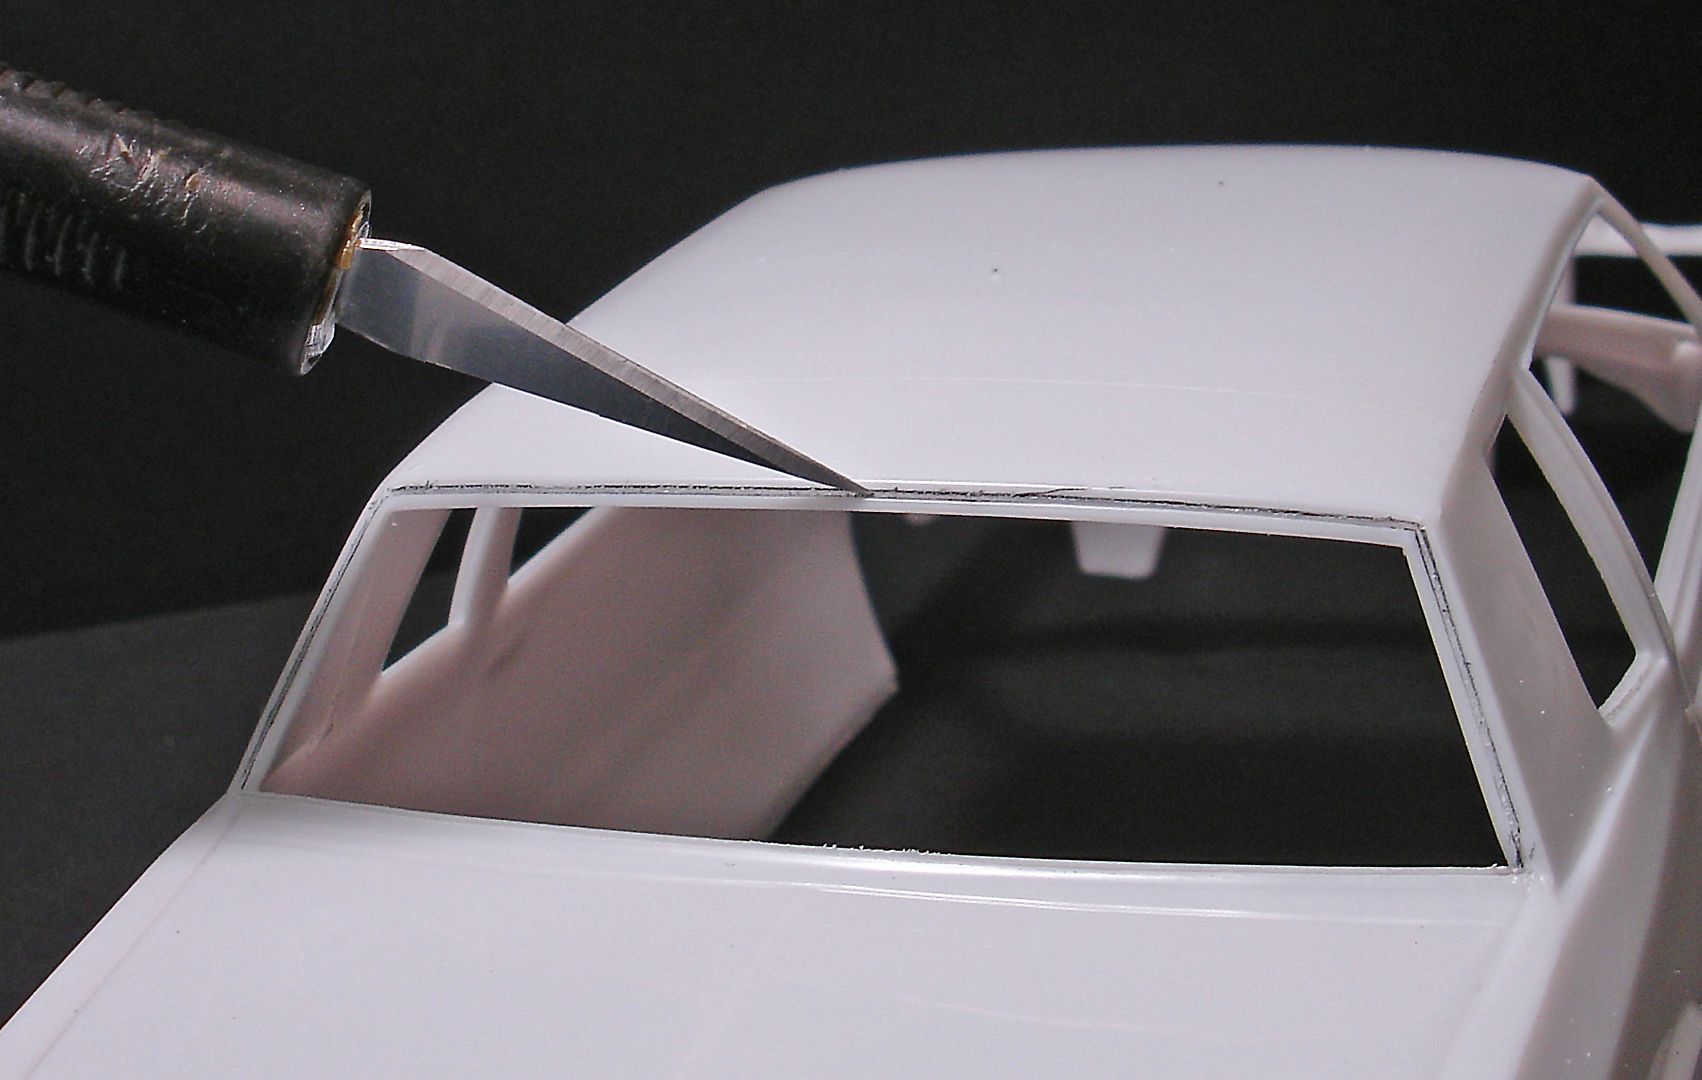
Hard to see scribing is done, also did lower edge that was set to a different width to sides and top.
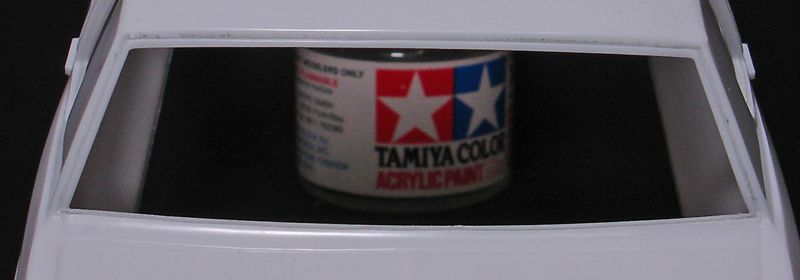
Using same process as door and boot line, clean up the lines with same pieces of 800 grit sand paper.
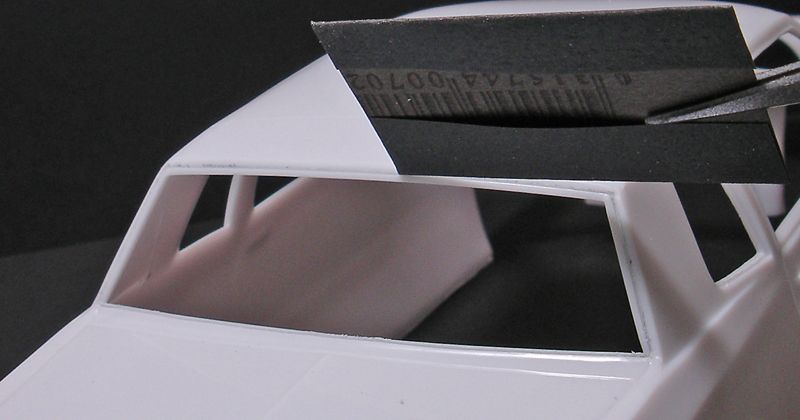
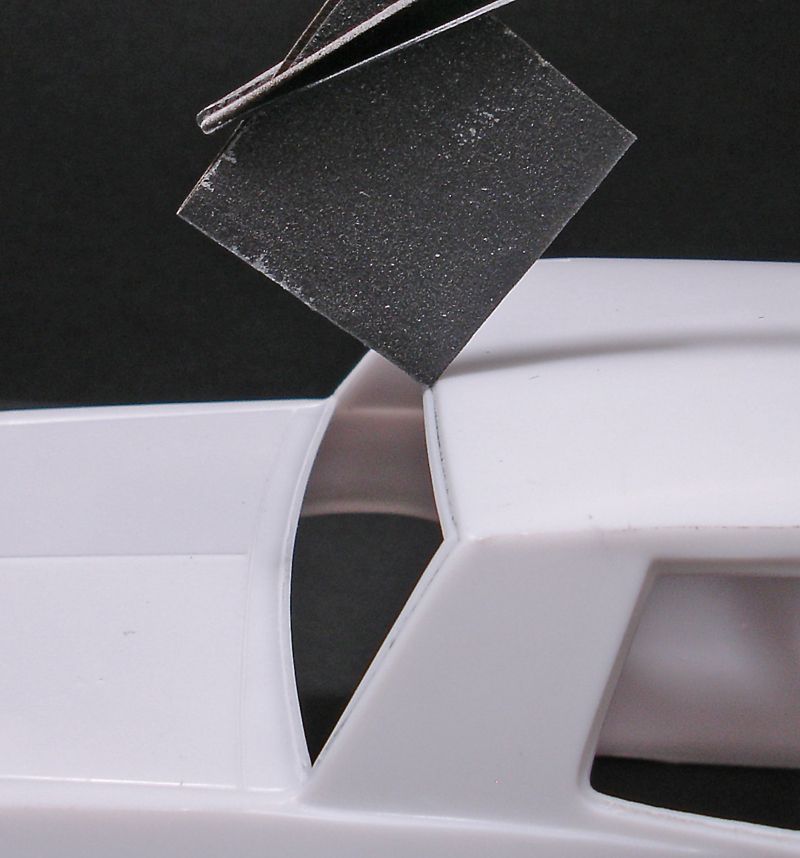
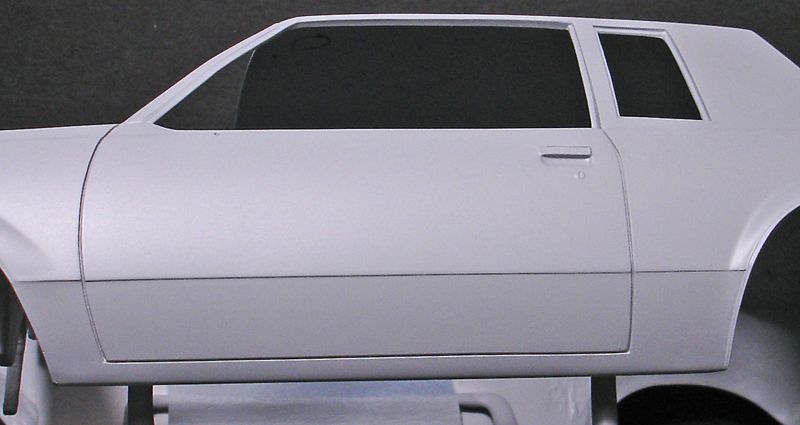
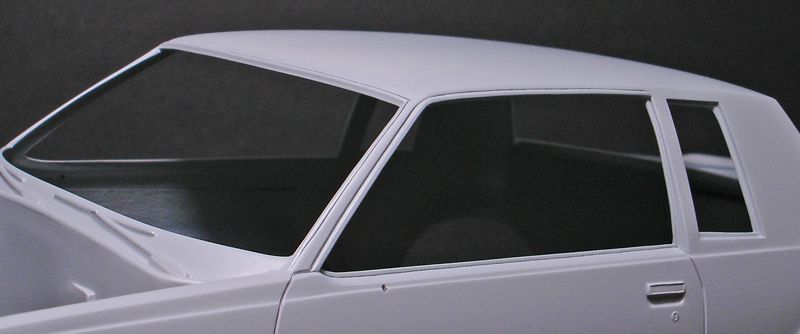
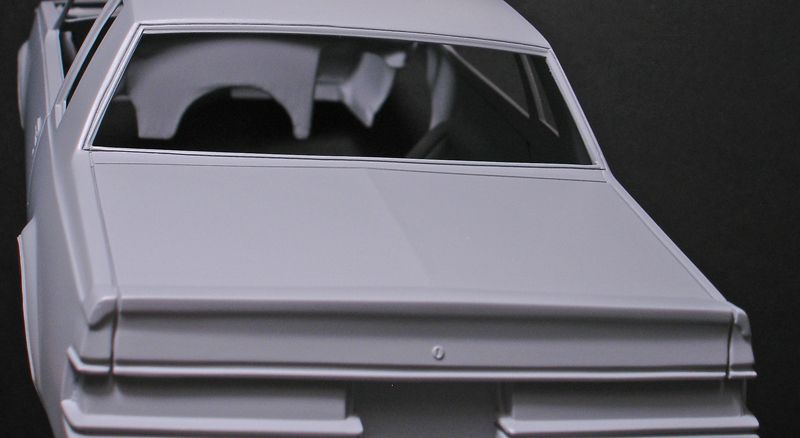
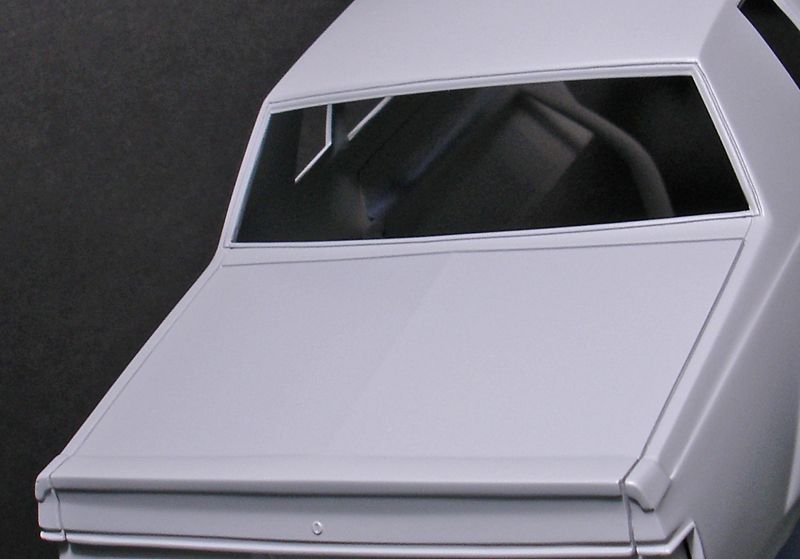
To show the results of a tedious but worth it task if you want to do it, here is one I prepared earlier.
Hopefully you can see how it has enhanced the door and boot lines and trim.
